
By taking a plastic Fuji Film holder and making a few adjustments we were able to convert a Mamyia polaroid back to wet plate. We had a pretty beat up Polaroid back and instead of trashing it we thought we would try to breathe new life into it.
(This process will work for the RZ or the RB. Please read all of the steps before proceeding so you know what you are getting into.)
Orchid and the Bee is not responsible for bodily injury or damage to your camera. Proceed at your own risk.
What you will need:
- Mamyia RZ Polaroid back
- Fuji film FP-100 or Polaroid plastic casing left over from the pack of instant film
- 1/16 inch width Lexan (which is one of a number of name brands of polycarbonate, a type of plastic)
- T square
- Dremel Saw-Max or something to cut Lexan into strips NOT A TABLE SAW
- Tin snips
- Weld-on 3
- Blackened Aluminum for tintypes
- Paint brush
- Matte knife
- Painters tape
- Sharpie
- Ruler
- Paper
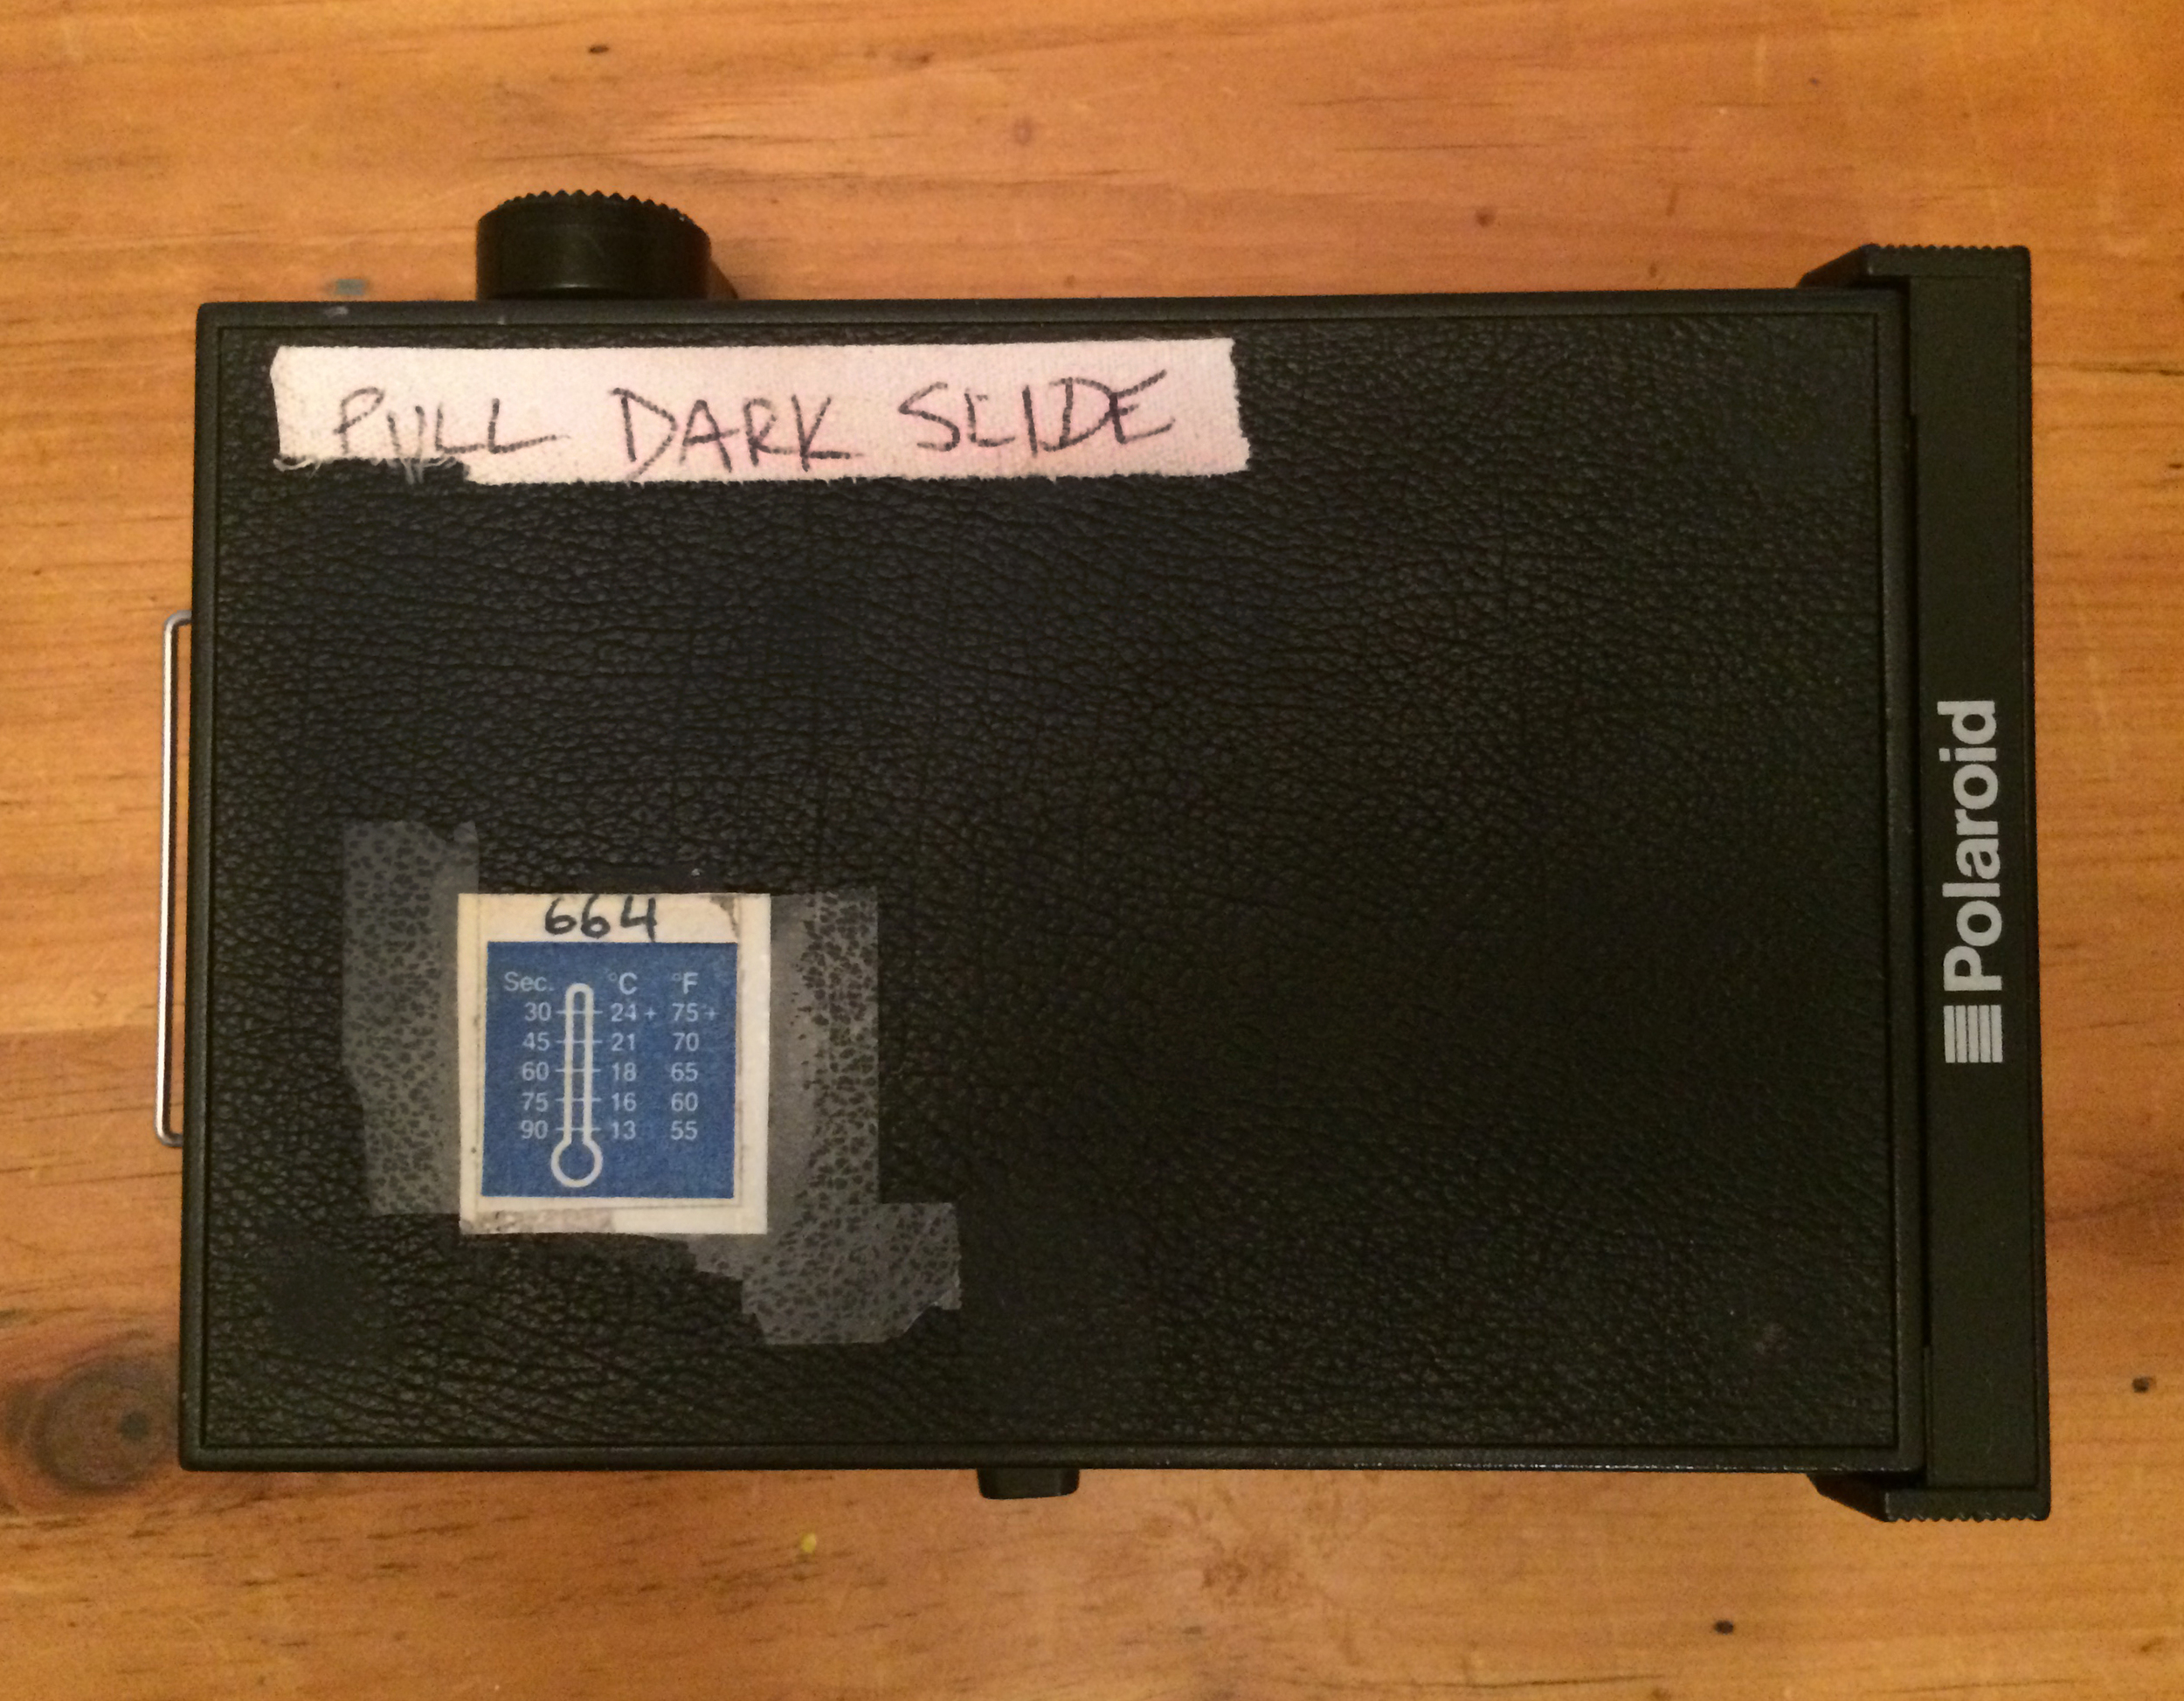
Polaroid back
We used to forget to pull the dark slide!!
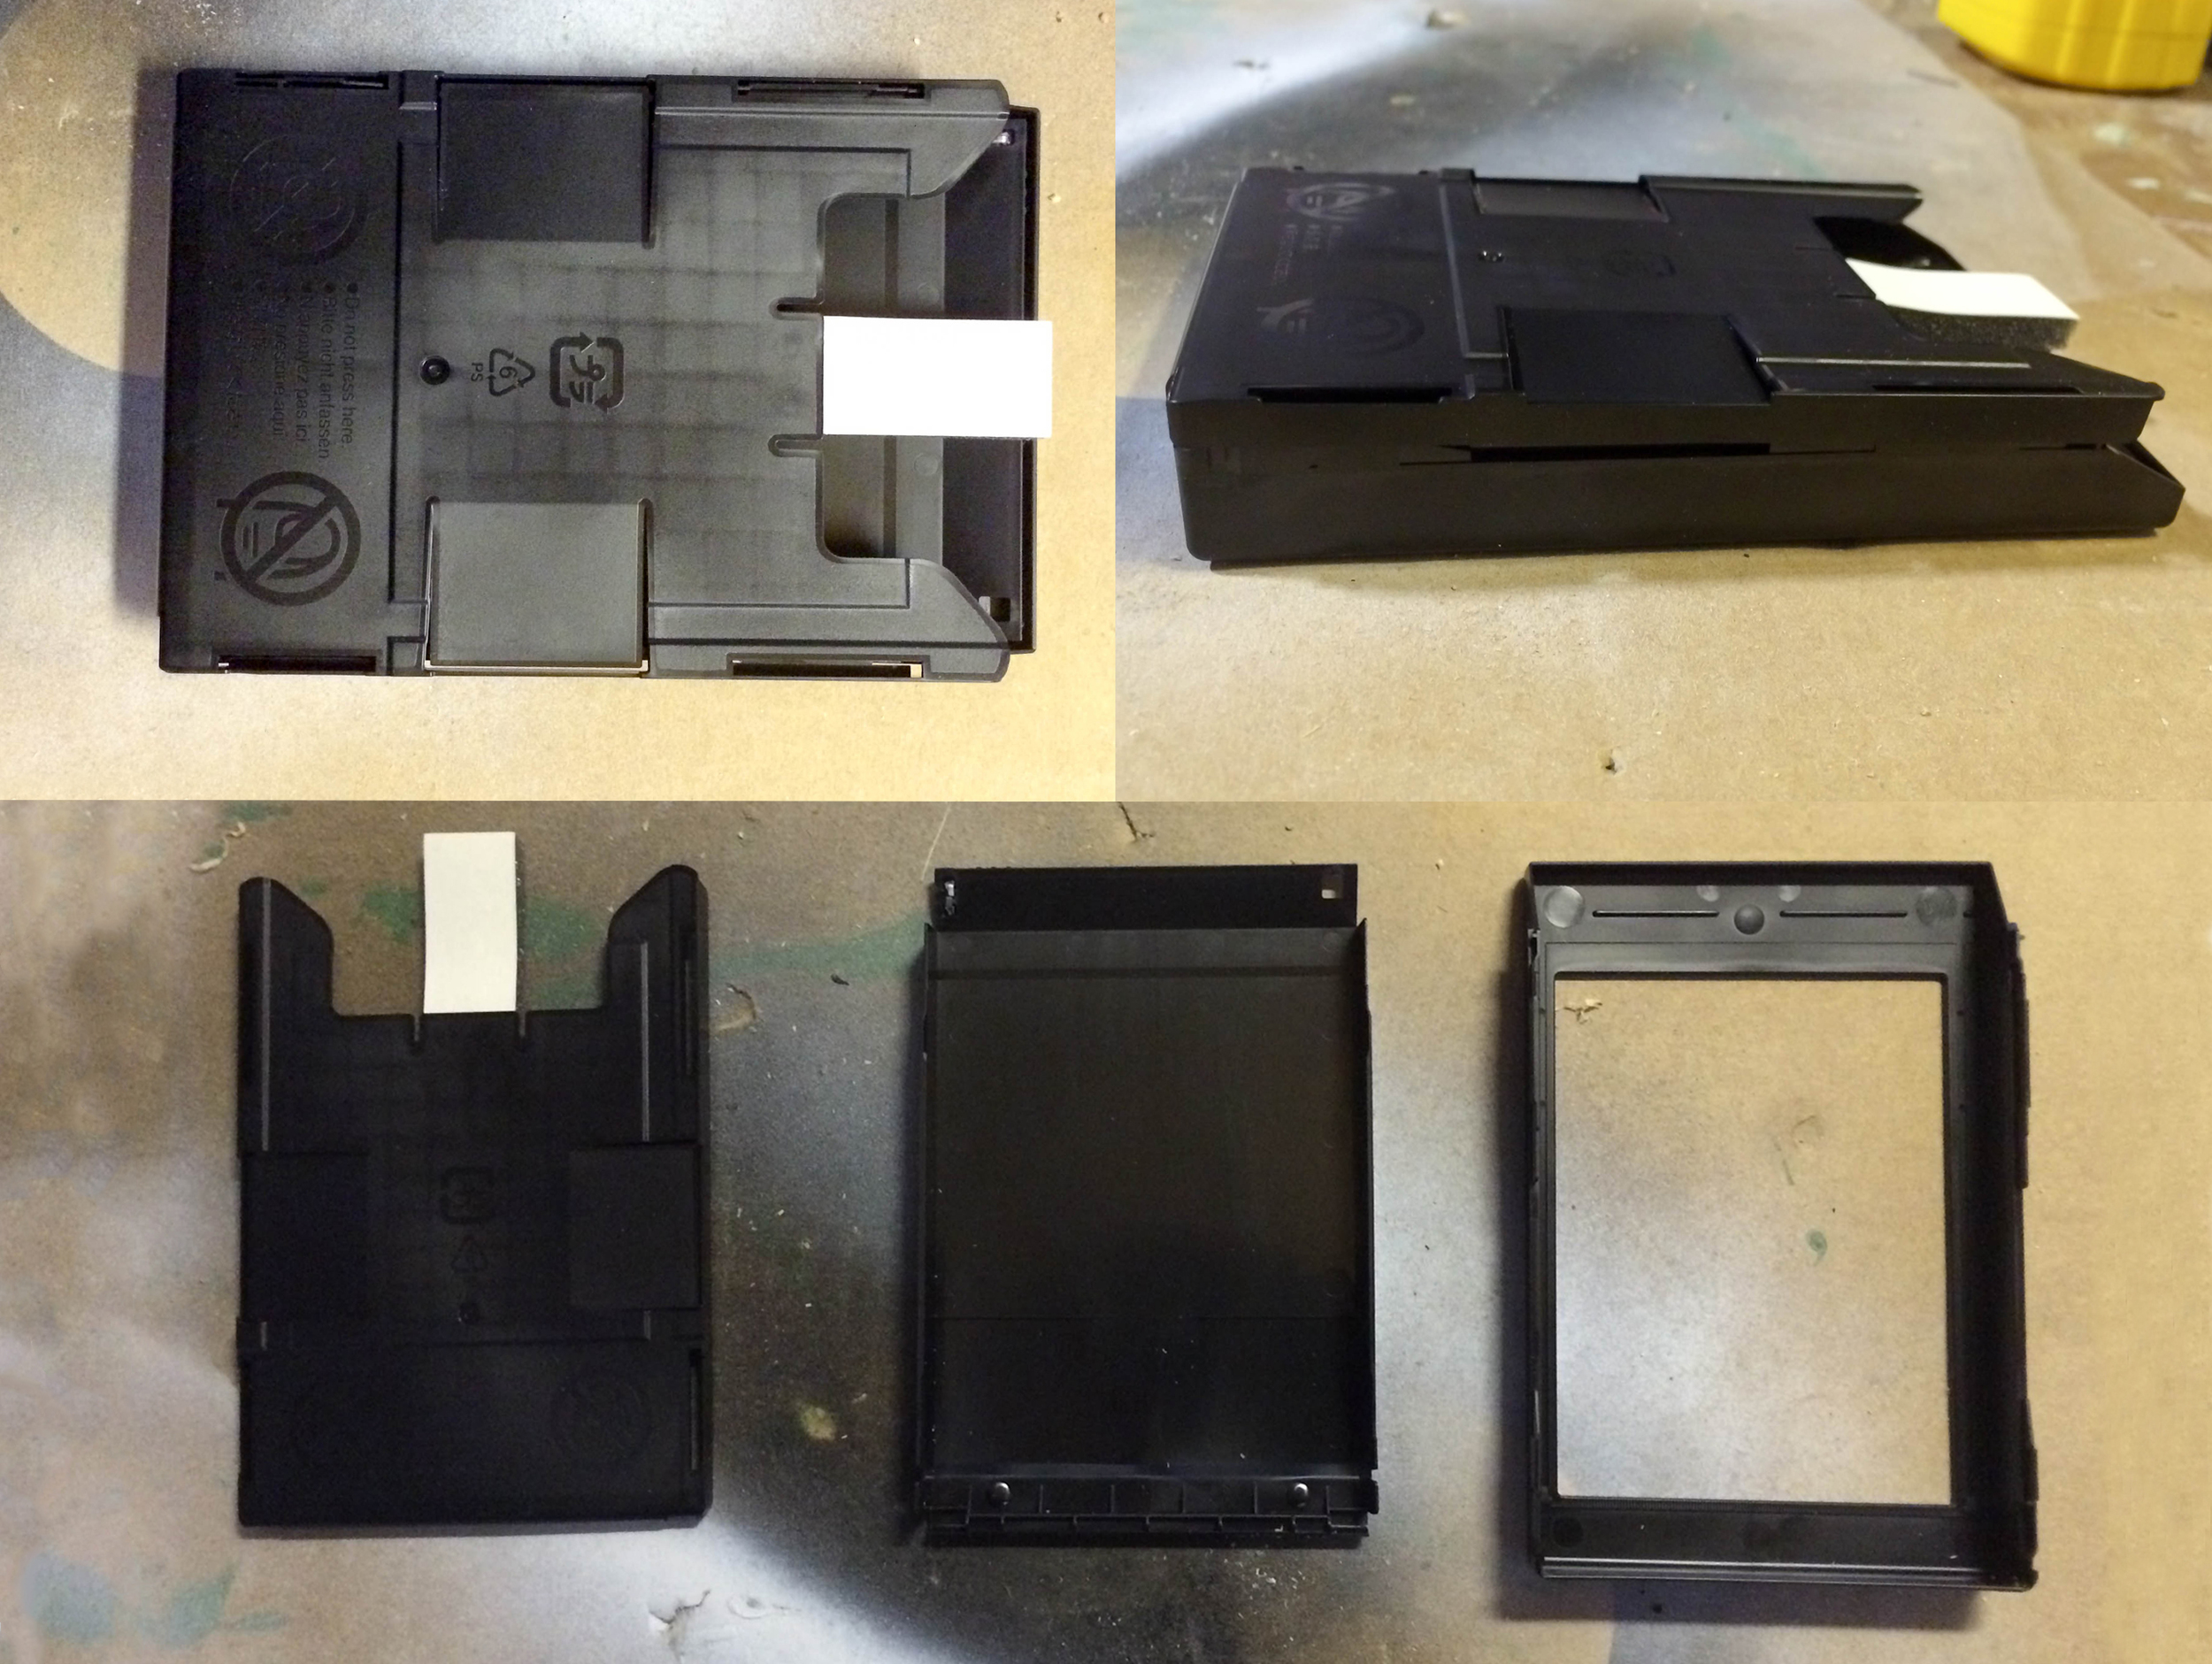
Fuji film plastic pack holder
Separate the holder into 3 pieces simply by pulling apart. You will only be using the far right piece for the conversion.

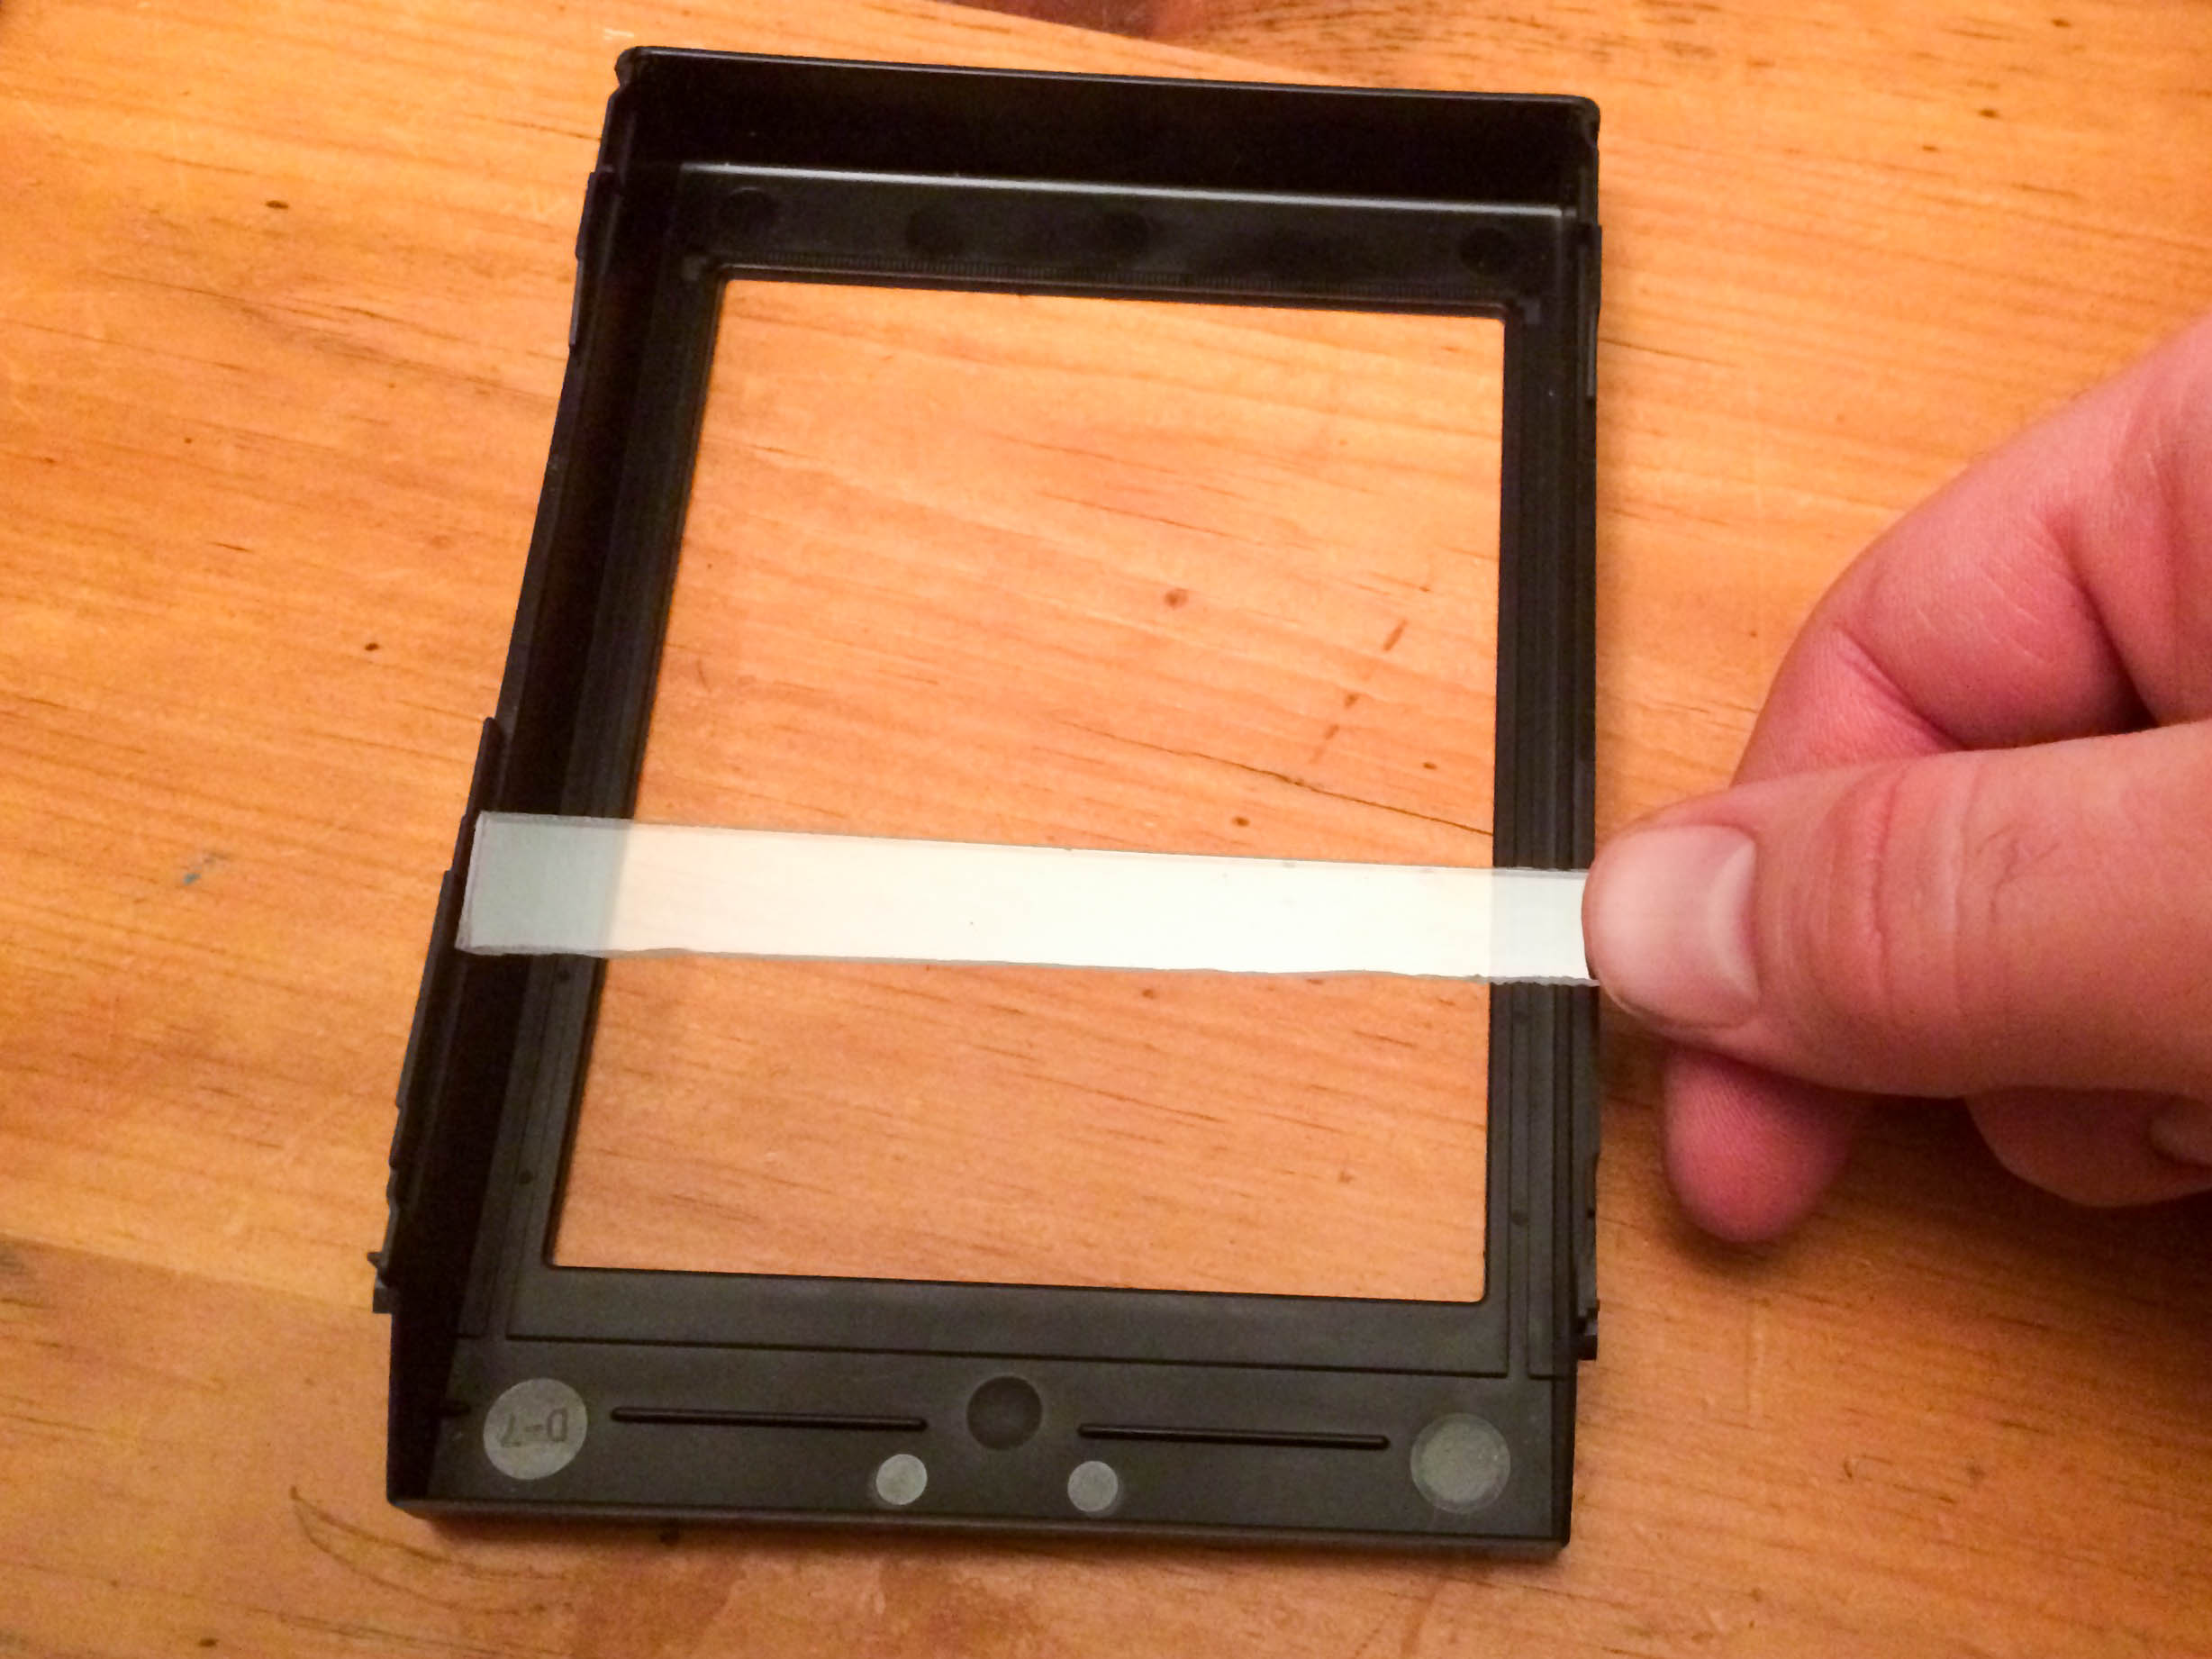
Lexan
You will want to measure the plastic Polaroid pack in order to determine the size of your Lexan strips. You will need 2 long strips and 2 short strips.

Measure 4 strips of Lexan
The strips of lexan will create a smaller frame to hold your plate. So at this stage you just need to make sure that you have the proper length and width. The longer strips will go on the side that is lying flat. The shorter strips will be attached at the base so the plate is held in place.
We used a piece of paper to measure and create a temporary template. This will also come in handy prior to cutting your plate and gluing your lexan strips in place.

Dremel Saw-Max
Use a Dremel or another precise electric saw to cut your lexan. Be aware that we tried using a table saw initially. The lexan snapped in half and the saw shot shards of plastic in random directions. Not safe.

Measure out a templet for your back

Tin snips were the easiest for us to cut our strips.
You will want to make sure the Lexan fits snug to the walls of the pack, so cutting off a little more than what you need then trimming back is suggested.

Cut two smaller strips for the walls.

Now cut your plate from your template. We found that a 3.25 inches square plate worked for us esthetically and it cut down on material waste. However, if that's not for you, you can cut a plate that fits within the entire frame so long as you have room to fit your Lexan.

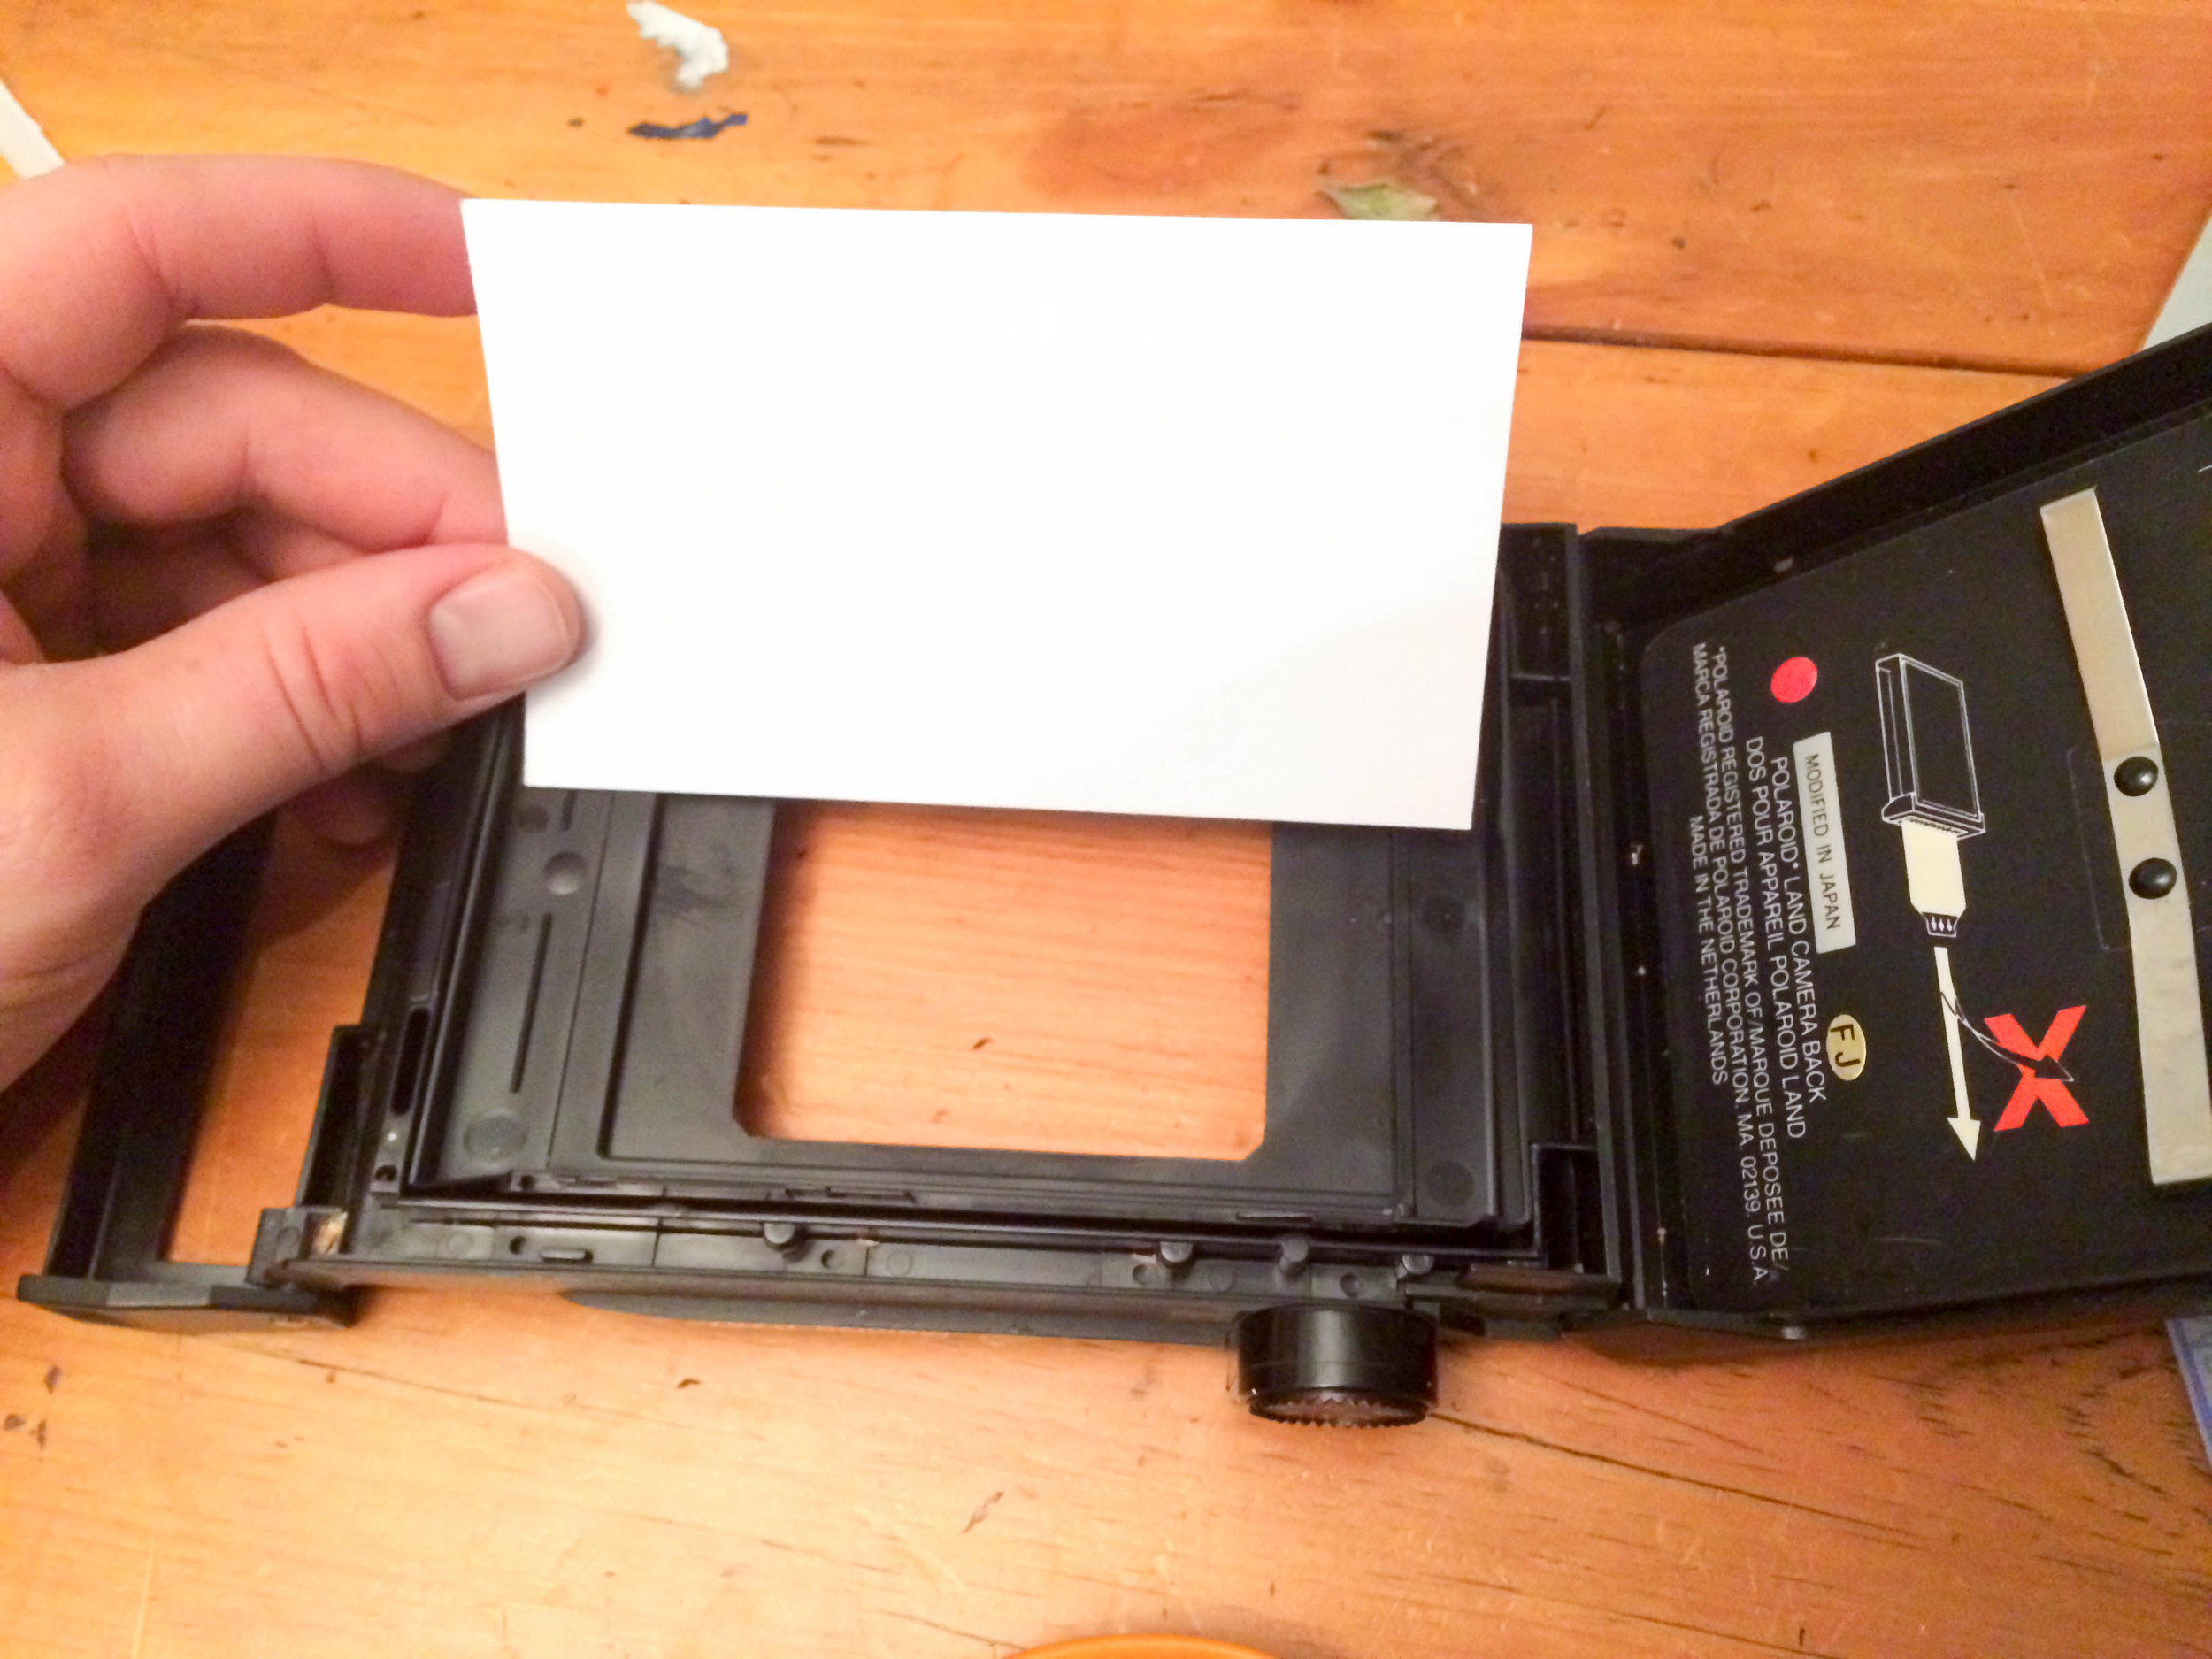
We suggest peeling the protective film off of your plate before working through these next steps.

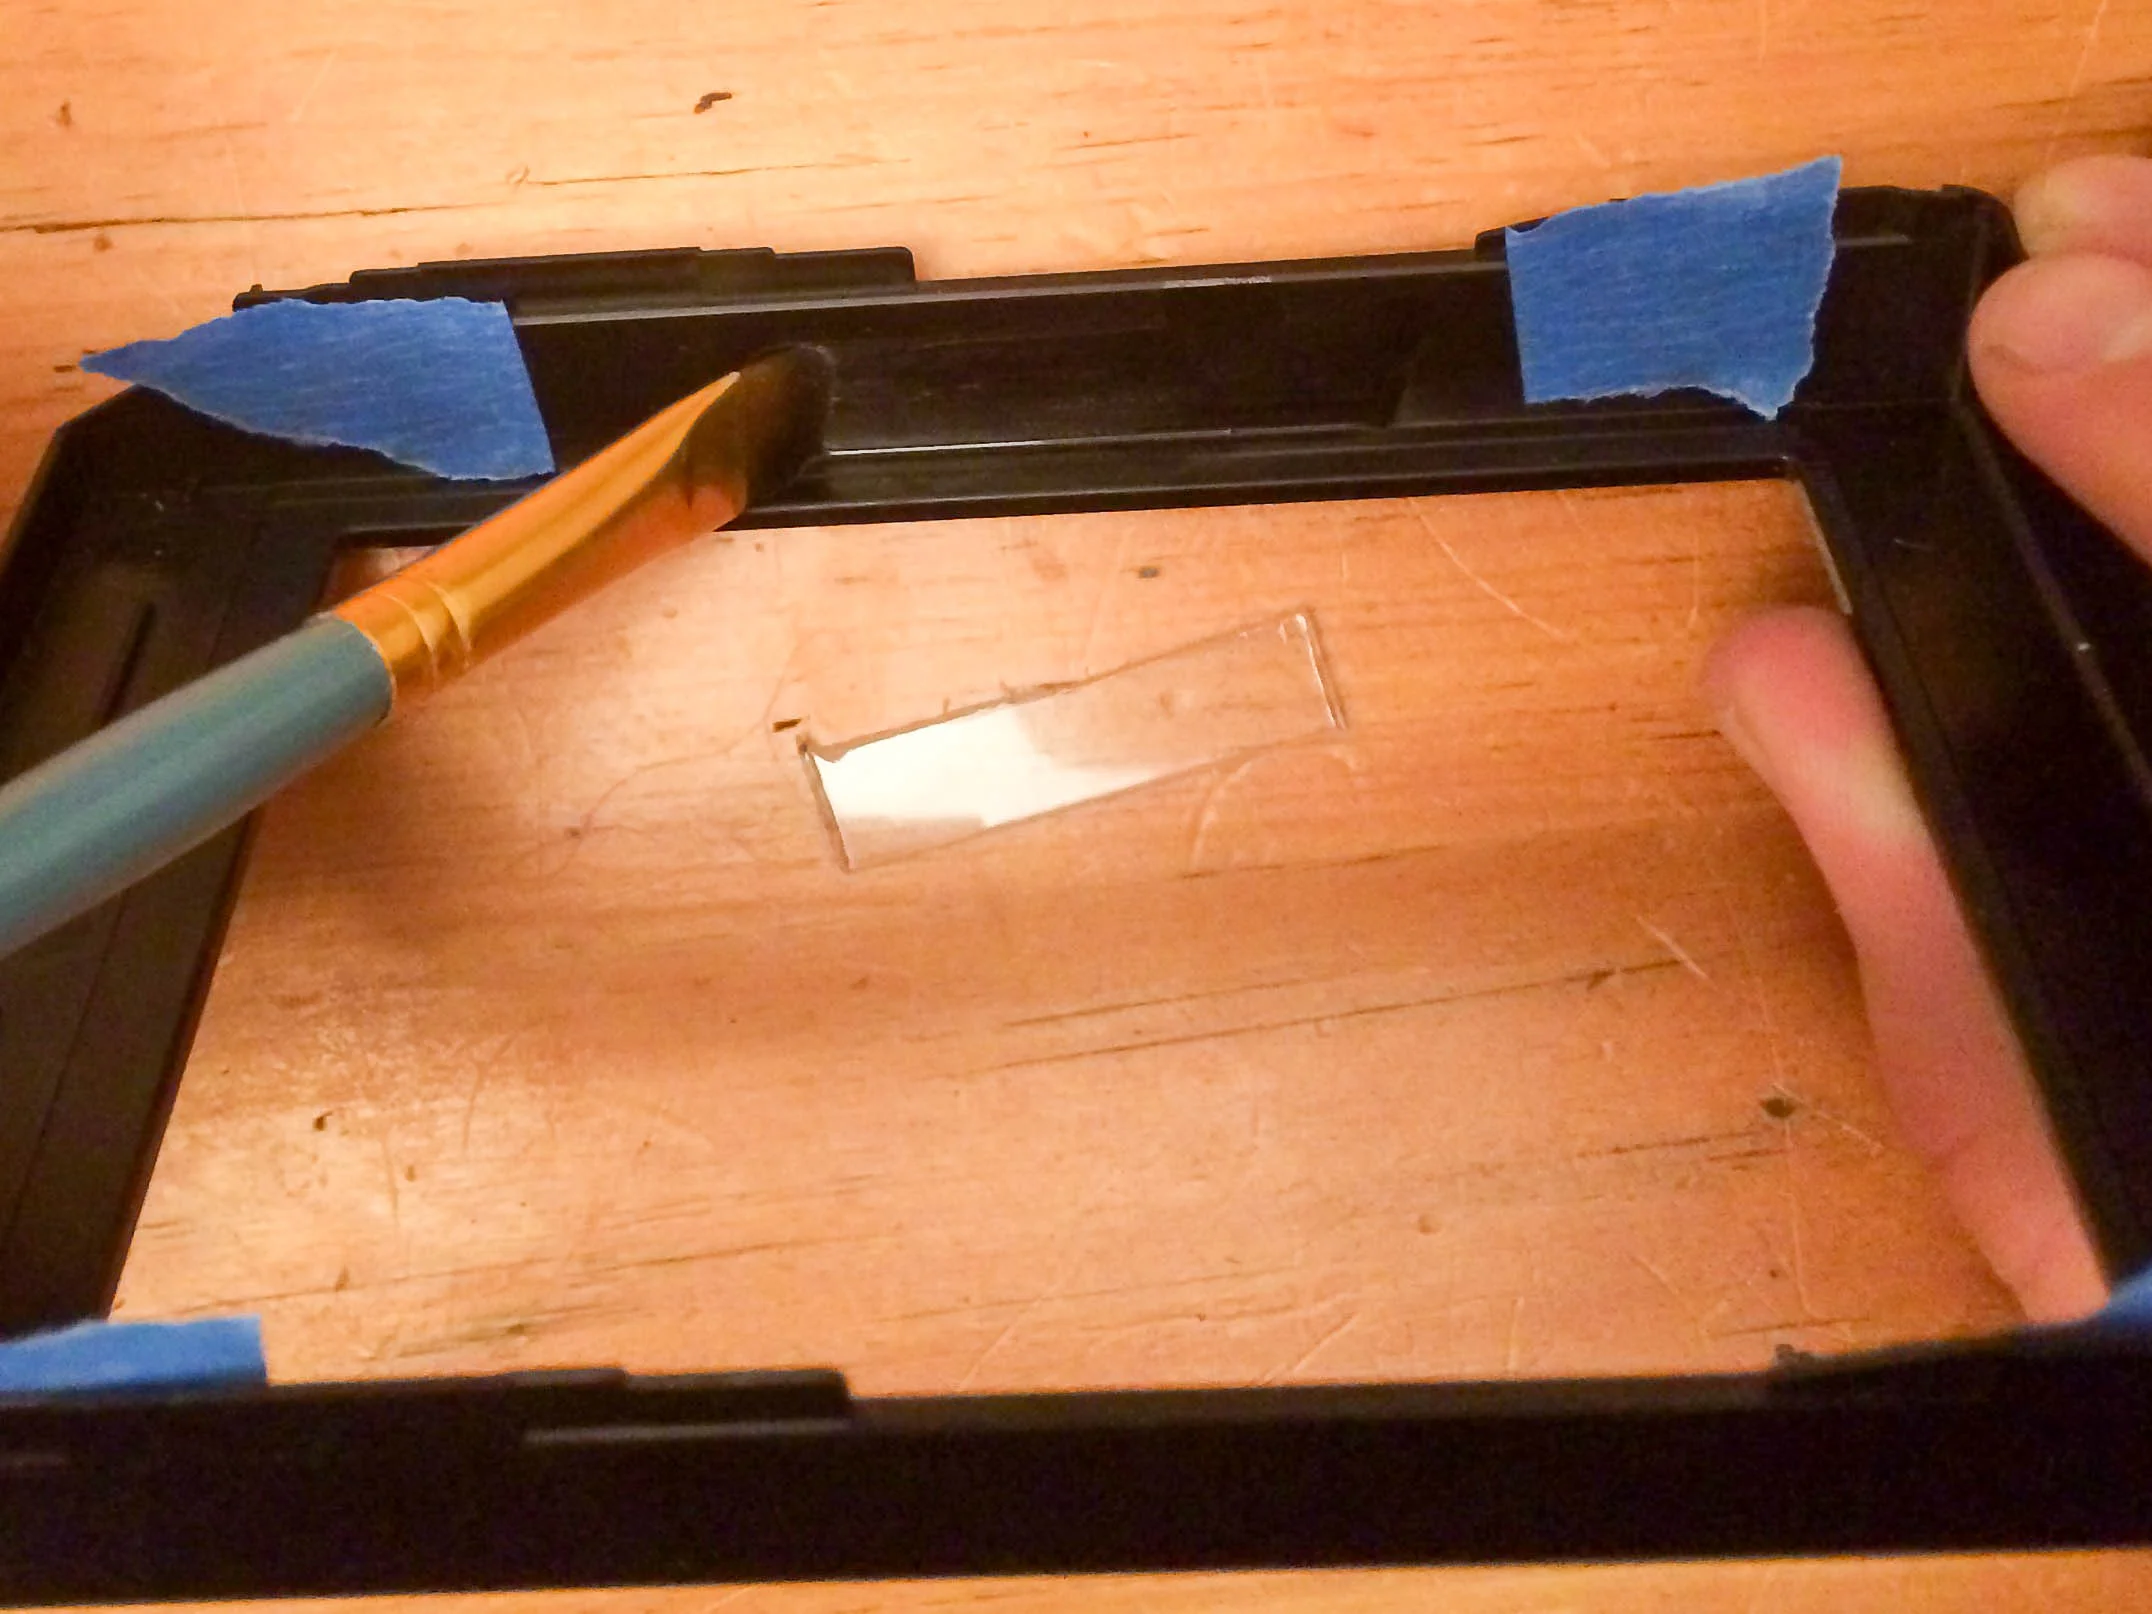
Here we decided to mark off where the where the image would line up in the pack. Once you take the pack out of the RZ back you will no longer be able to visually line up your plate.

This adhesive drys extremely fast so make sure you have all your materials ready before hand. Please be aware you will also have to cut the top open. A matte knife will do the job. Be careful and don't cut your fingers off.
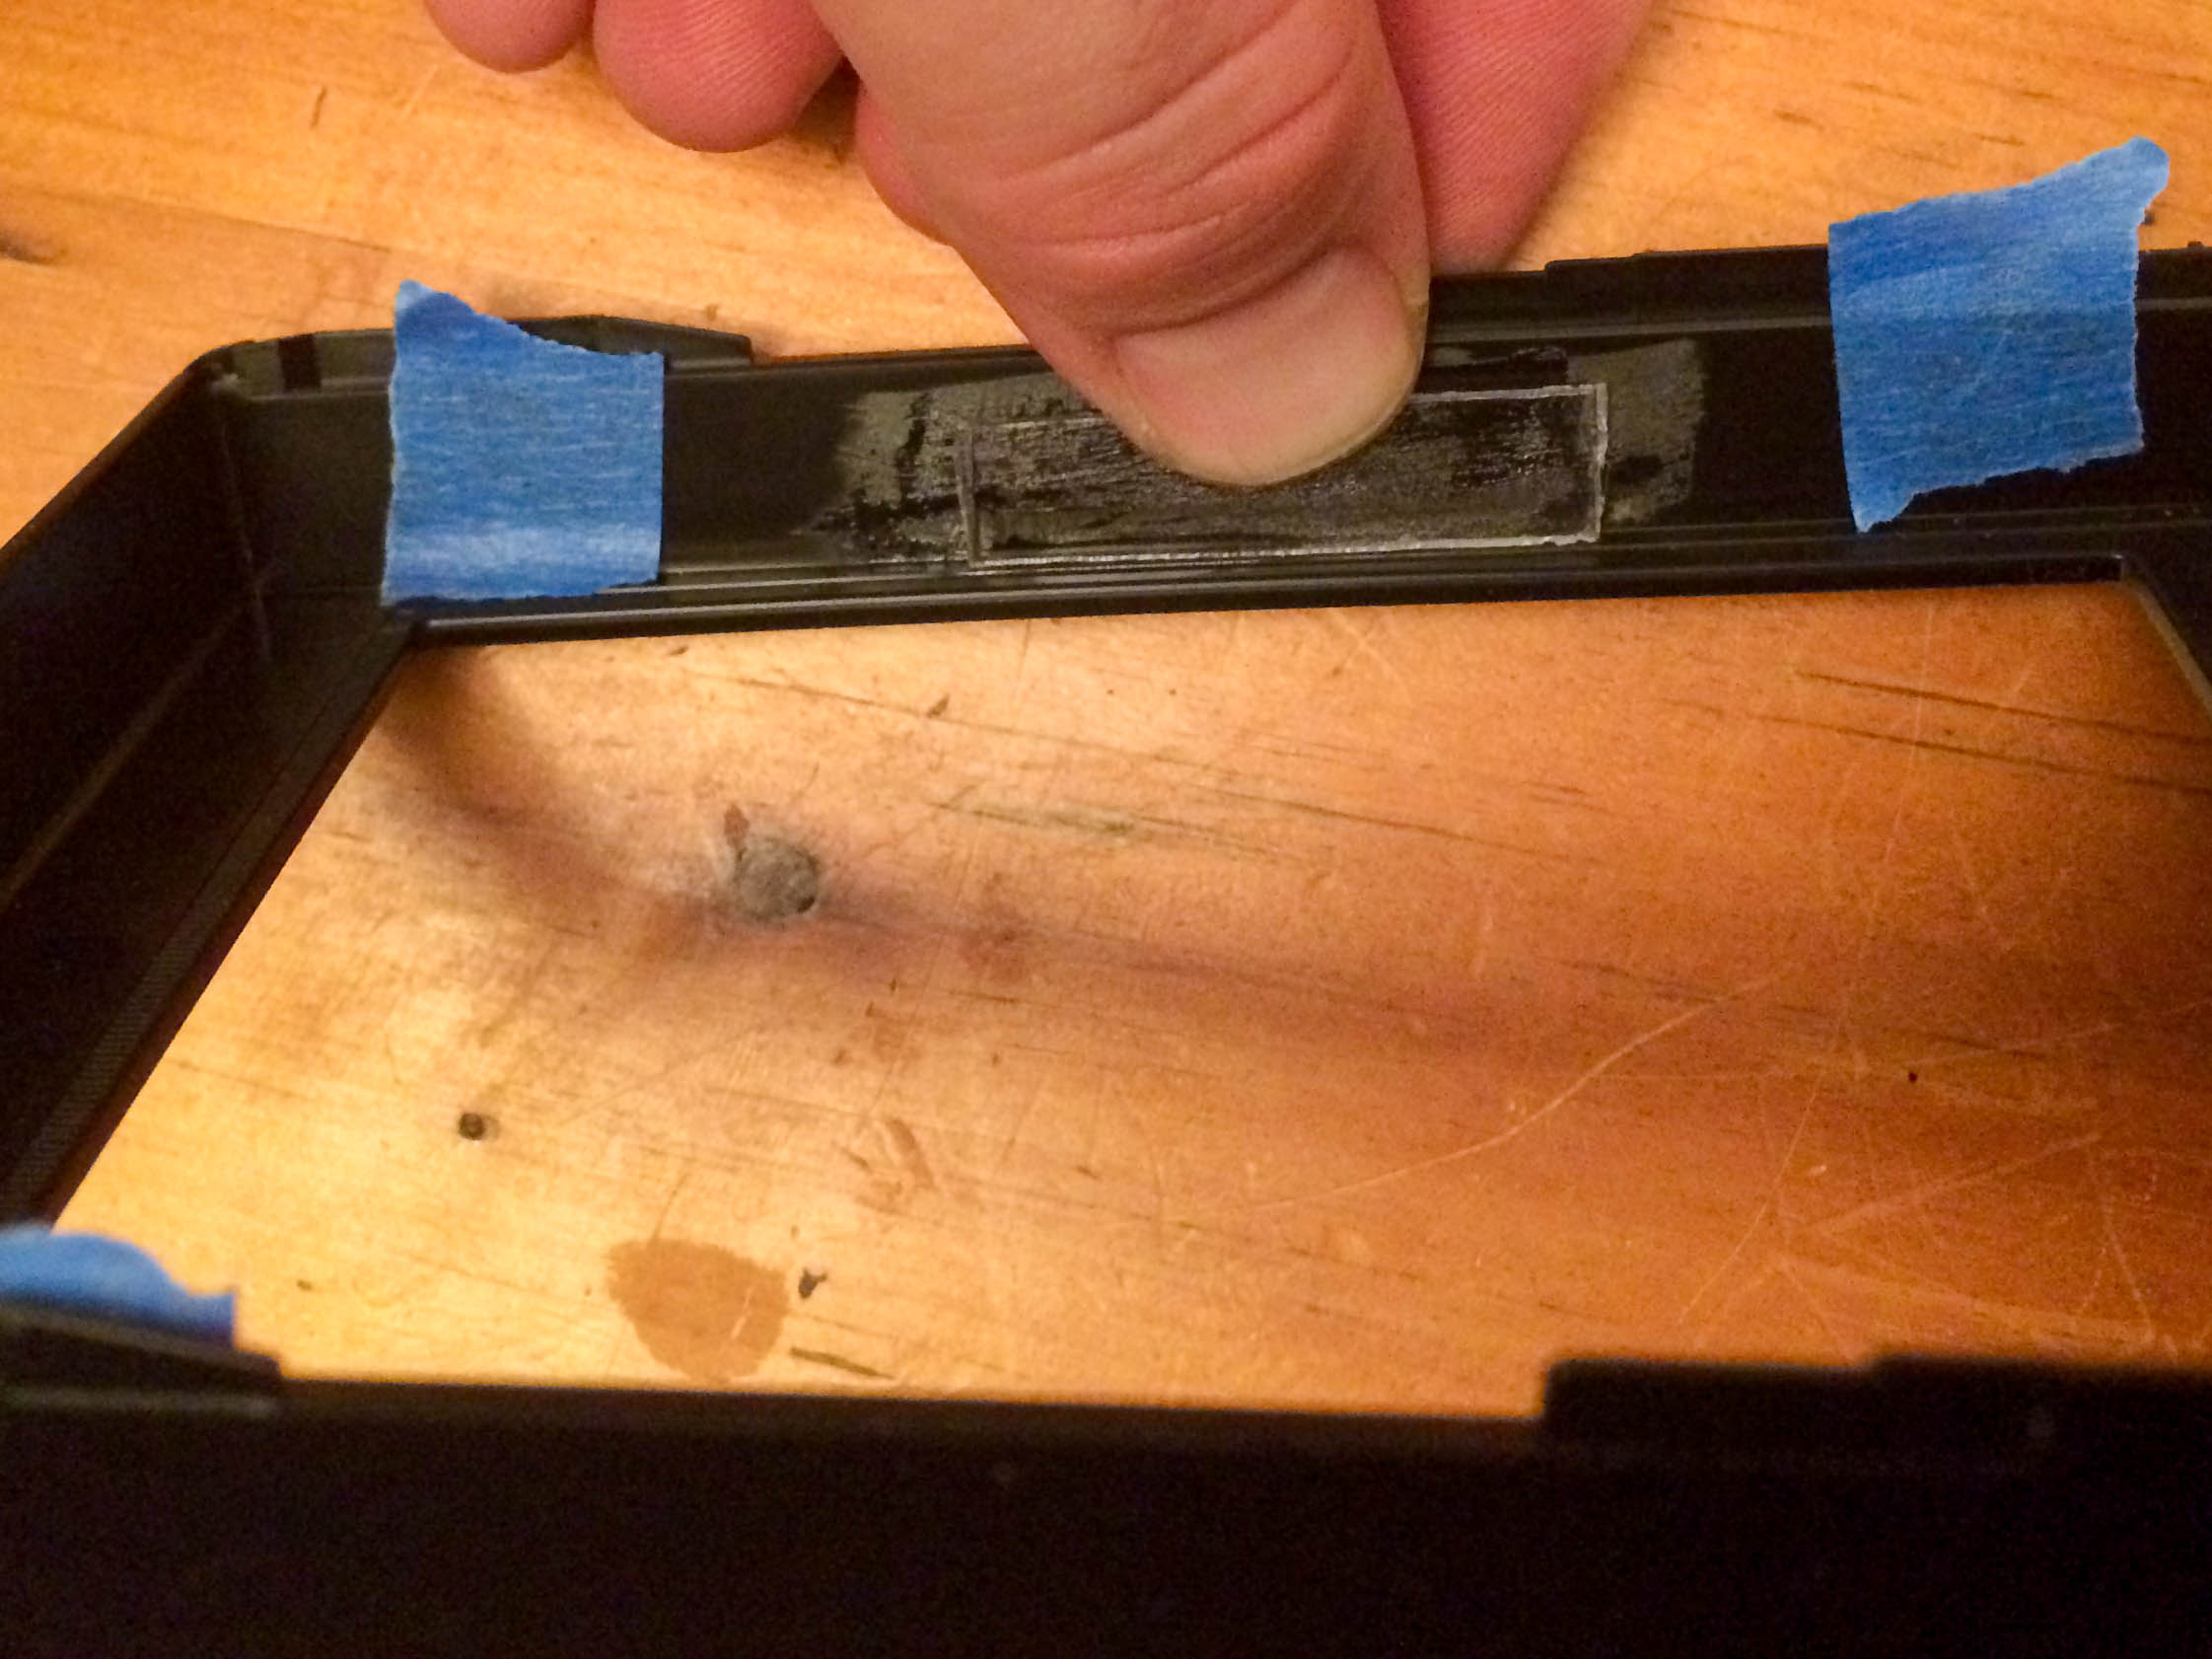
After brushing on the adhesive, press and hold the widest side the of your Lexan to the center of your markings on the wall of the Polaroid pack. Make sure you adhere 1/16 inch width Lexan stated above or you will have trouble with your plate fitting.
Like so.

Before adhering the third and fourth piece of Lexan, use your plate as a template. You will want to make sure that there is some wiggle room so pull the fourth strip out just a bit after applying the Weld-On.

Lastly, pull up these metal tabs in the back far enough to lightly push on the back of the plate. Use caution while pulling these tabs or you will snap it right off and have to re-glue it back on like we did.
There you go, your trashed Polaroid back lives again! If you have any questions feel free to email us at info@orchidandthebee.com
-Thommy & Susannah


